Overview on how employee applies e-applications |
Employee applying change requests
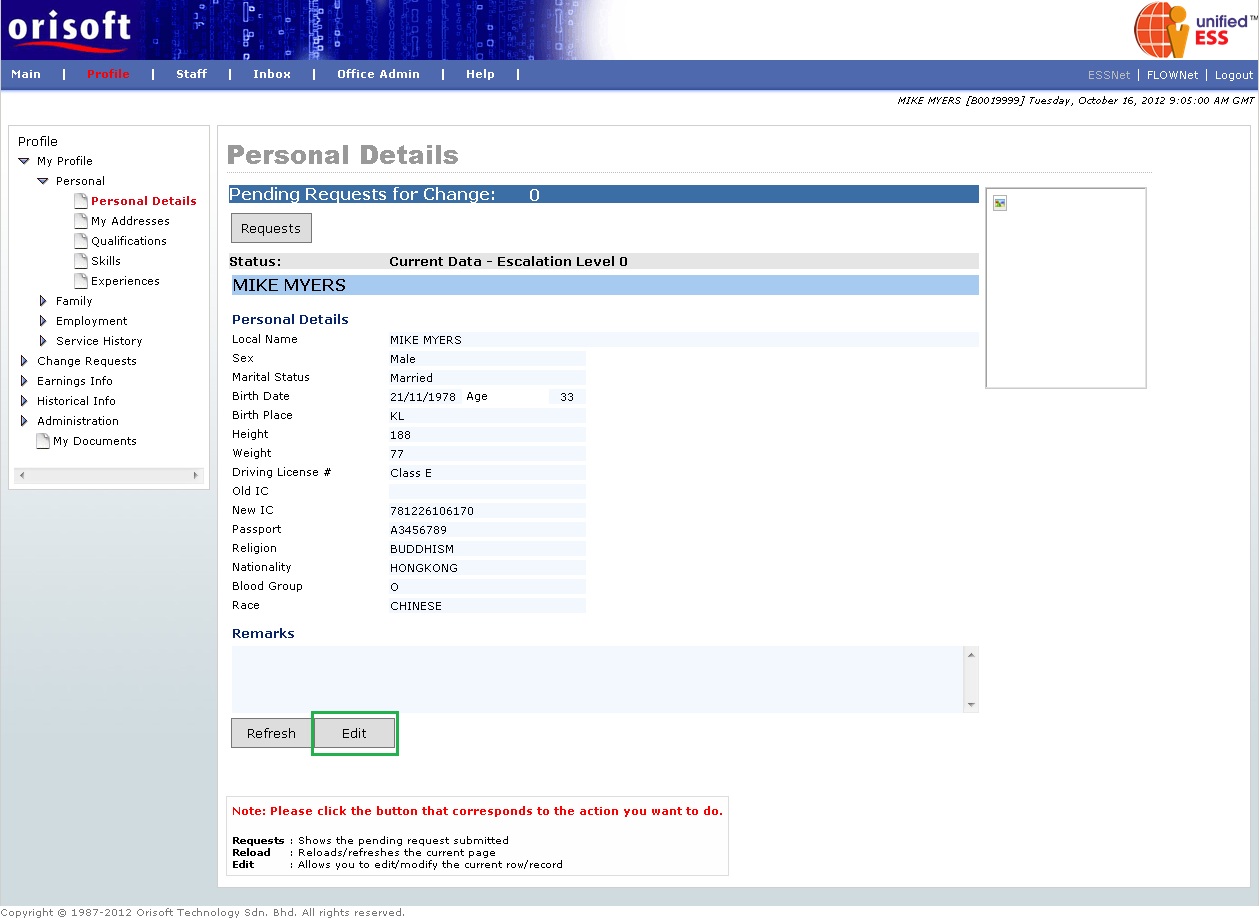
In What is unifiedESS?, we have explained on Change Request. The following example will show how an employee could make Change Requests in ESSNet. You may first need to login into ESSNet, and for example, select Personal > Personal Details. Click on the Edit button to continue (refer to figure below).
A page that allows you to edit personal information will be displayed. After you have input new changes in personal information, click on the Submit button to continue. You may also click on the Clear button to empty the input information and the Cancel button to go back to the previous page (refer to figure below).

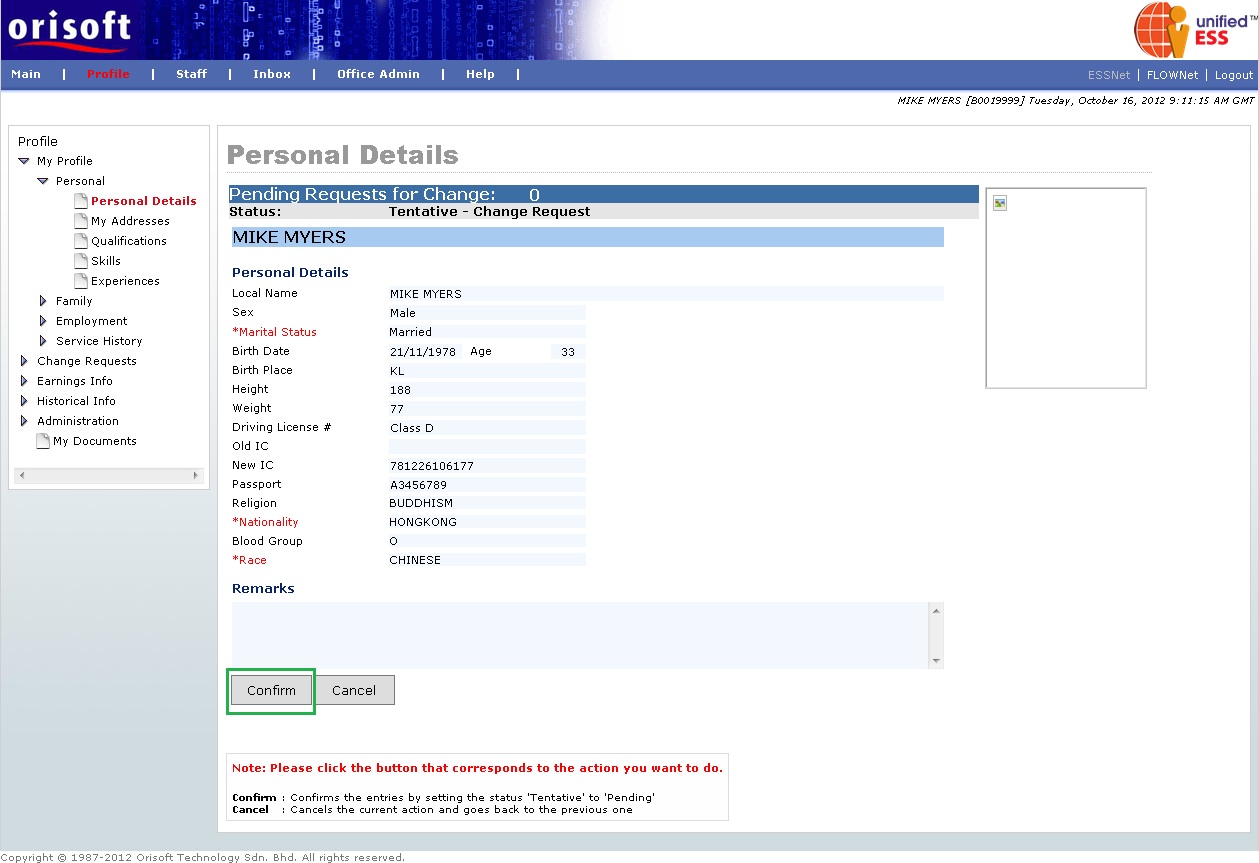
Once the Change Request has been submitted, you will be directed to a page for confirmation. Click on the Confirm button for submission. Otherwise click on the Cancel button to go back to the previous page (refer to figure below).
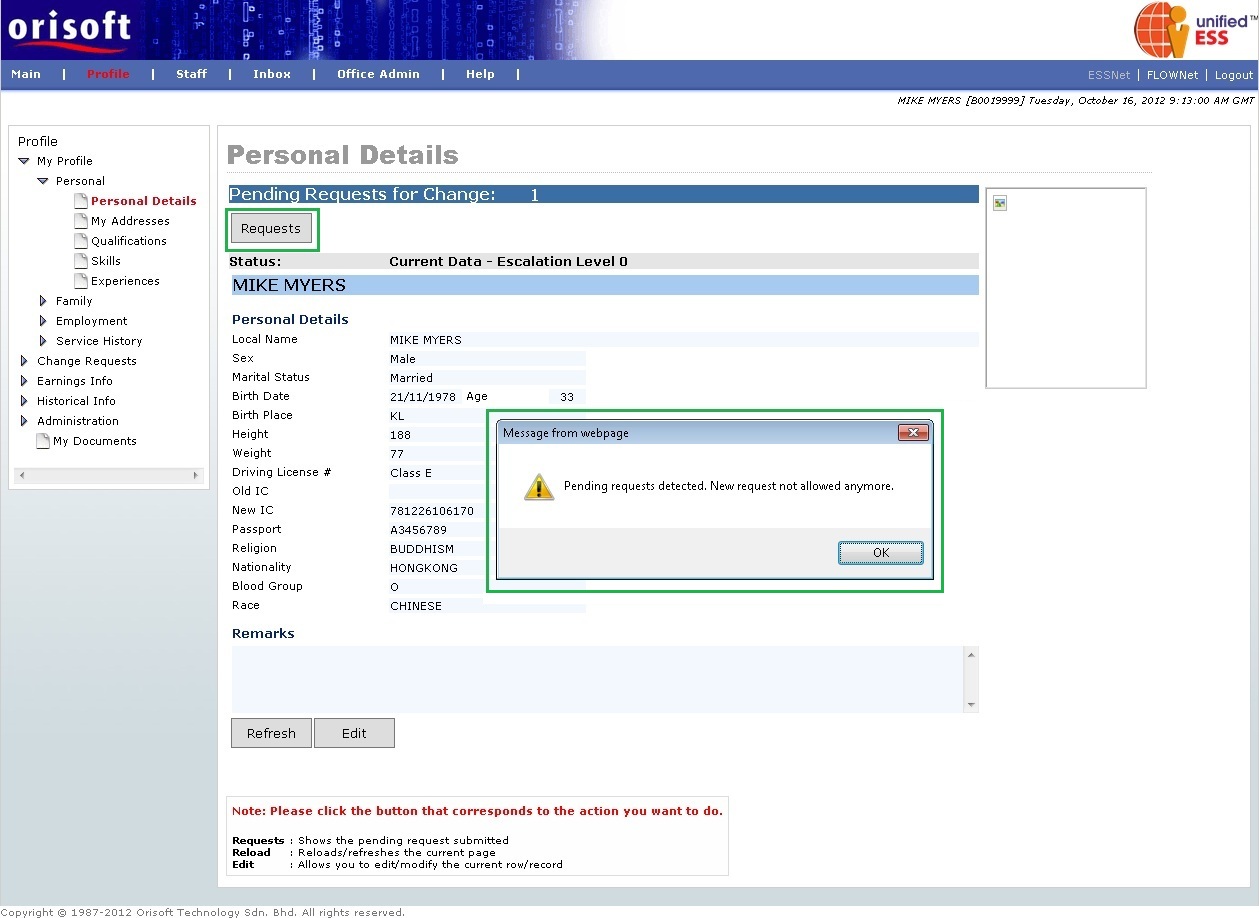
You may not be able to create another new change request for personal details until respective superior has taken action on the existing change request. Message will be prompted if you intend to make a new request before the existing change request is approved (refer to figure below). If you want to see the change request's details, you may click on the Request button at the top of the Personal Details page.
NOTE: The above features and functionality are available in most of the change request forms. For different type of request forms, those will be further explained accordingly.
Employee applying application request
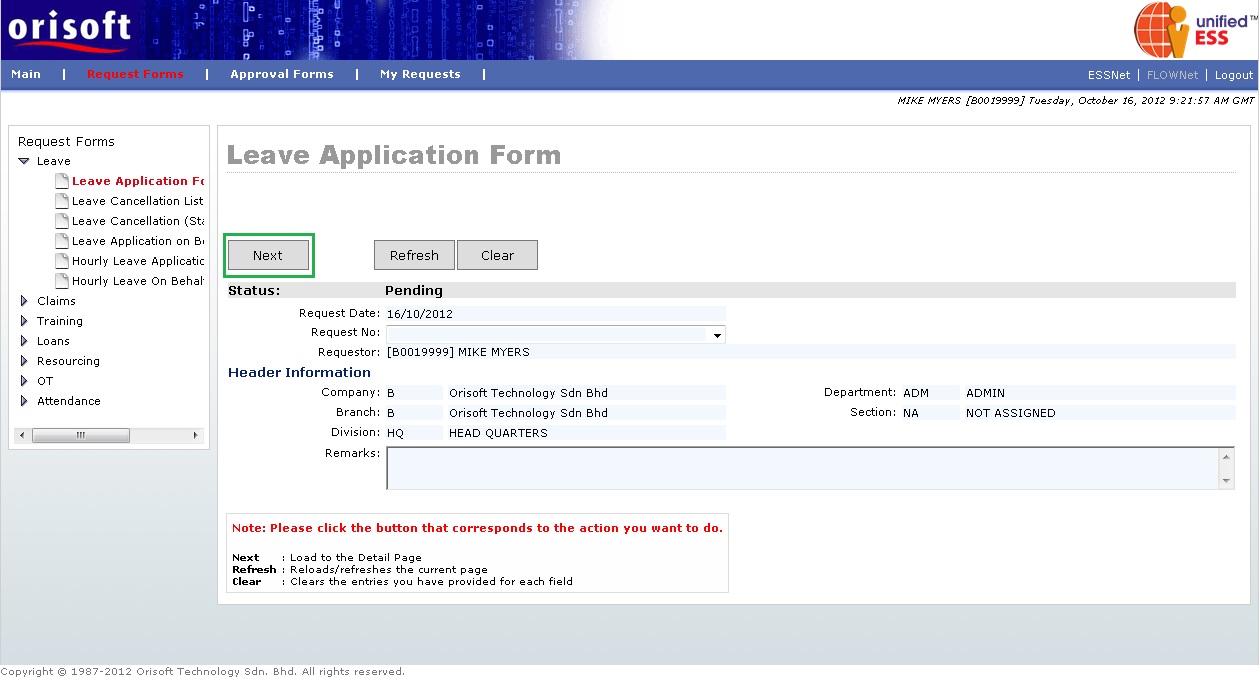
In What is unifiedESS?, we have explained in Application Request. We will use Leave Application Form as an example. To go to the Leave Application Form, you may have to click Request Forms > Leave > Leave Application Forms to apply for an annual leave. If it is a new application, you may have to click on the Next button to proceed with a new request (refer to figure below).
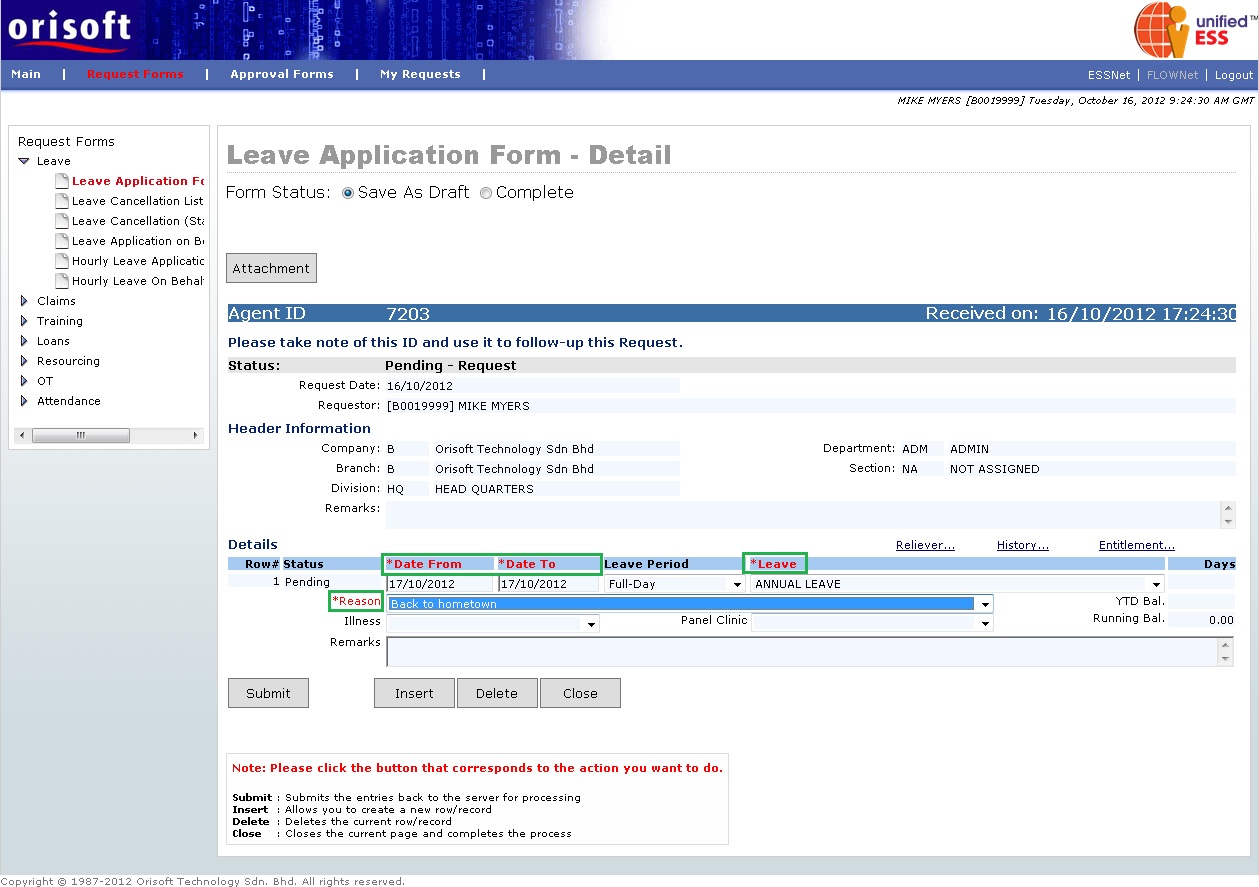
You will be directed to Leave Application Forms page which allows you to input leave information. The RED color highlighted titles of input is mandatory field which needed to be filled (refer to figure below).
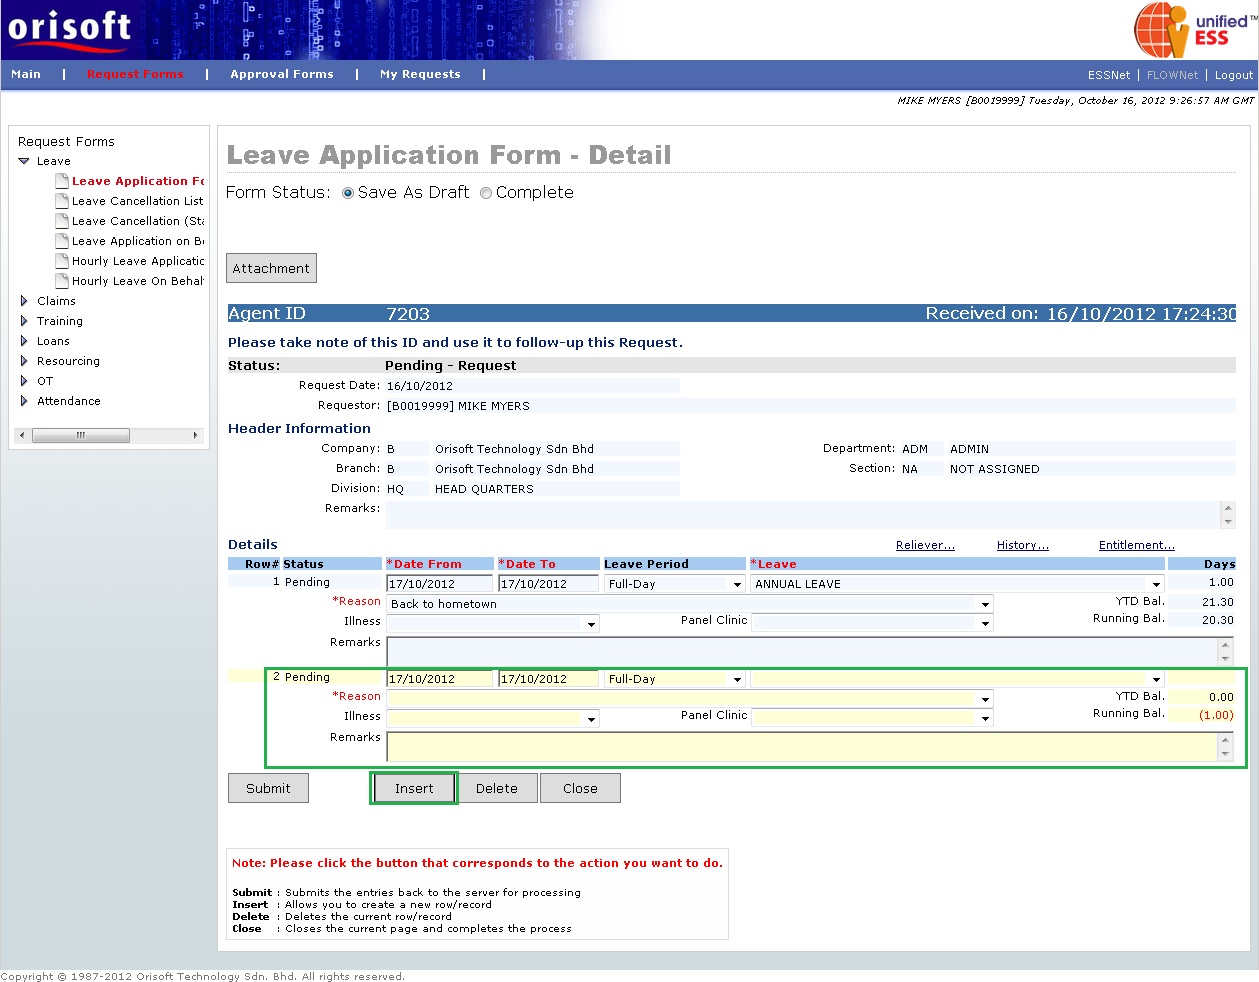
By default, Leave Application Forms only consists of one record row. If you want to apply multiple applications within 1 request, you can make use of the Insert button available at the left lower part of the form. It allows you to insert more than 1 record for your request and submit it at once, provided you have filled in the entire mandatory field for a first record. The green highlighted rectangle of record row 2 shows the second record added by clicking on the Insert button (refer to figure below).
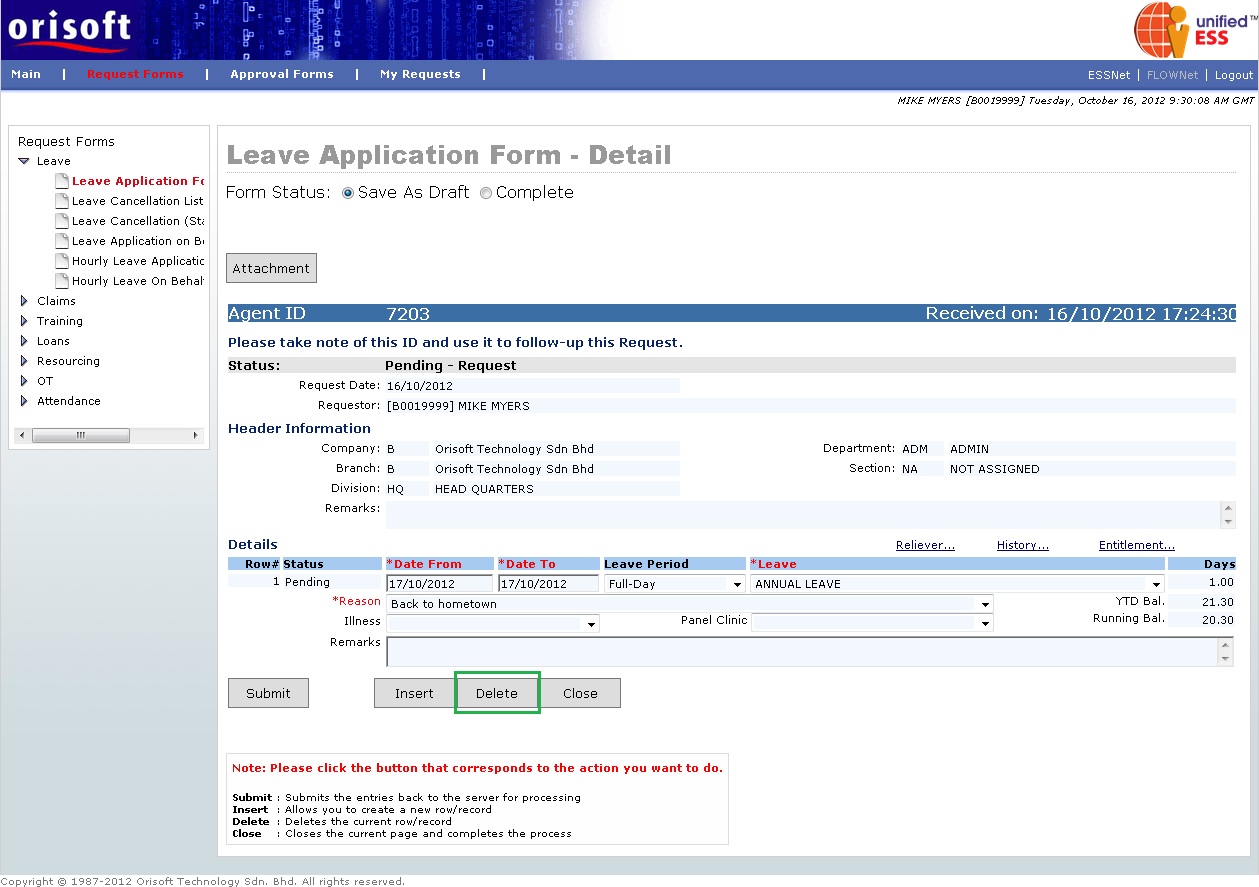
Meantime, you will see a Delete button. As its name, it allows you to delete unwanted records which inserted by the Insert button. The diagram below shows the second record row 2 has been deleted after clicking on the Delete button (refer to figure below).
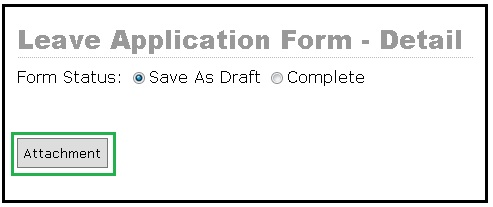
If you notice, there is an Attachment button, which allows you to include the supporting documents in digital format for leave application. Click on the Attachment button located at the top left area to continue (refer to figure below).
A pop-up window will be shown (refer to figure below).
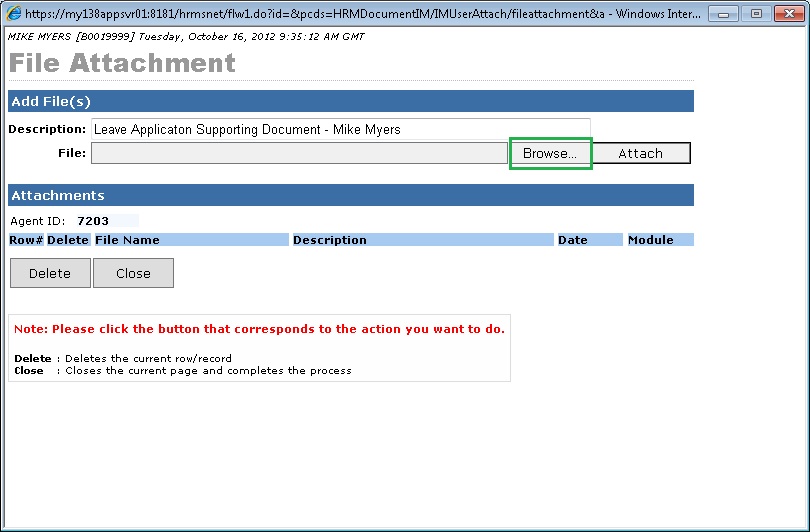
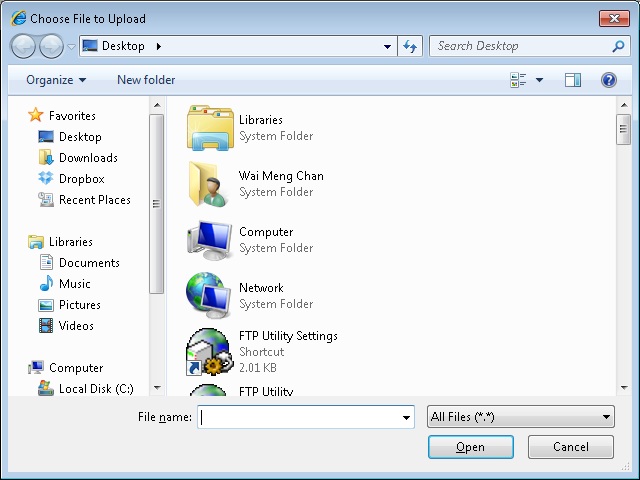
Click on the Browse button and a window for file selection will appear that allows you to locate the file to attach (refer to figure below).
After locating and selecting the file, you will return back to the Attachment pop-up window. Click on the Attachment button to confirm the file attachment. The attached file will be shown in the Attachment area. You can freely select the file for deletion by ticking the tick box, and press on the Delete button. Click on the Close button to close the Attachment window once the attachment is done (refer to figure below).

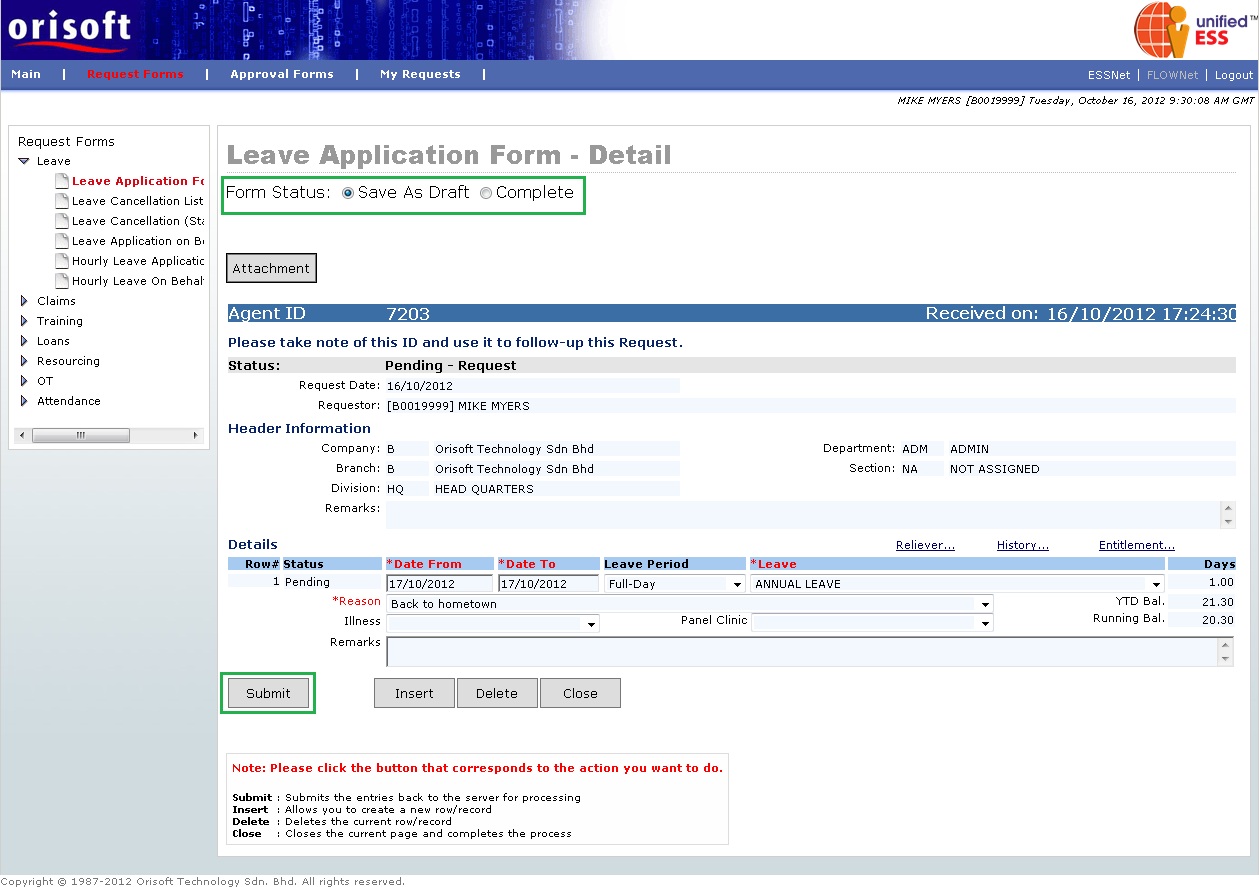
After input all necessary information, you can either choose to “Save As Draft” or Complete radio button which located at the left upper of the forms. When you select the “Save As Draft” option and click on the Submit button, the request will be saved within the system but will not send to superior for approval. This function is similar as Microsoft Outlook saves e-mail as draft, mainly is for you to save the forms and for future submission (refer to figure below).
If you have “Save As Draft” for the request, you can select the draft request forms according to its AgentID (in this example, AgentID 7203 is selected) from “Request No” drop down list located at the main page of the request form. Click on the NEXT button to continue after selecting the AgentID from the drop down list (refer to figure below).

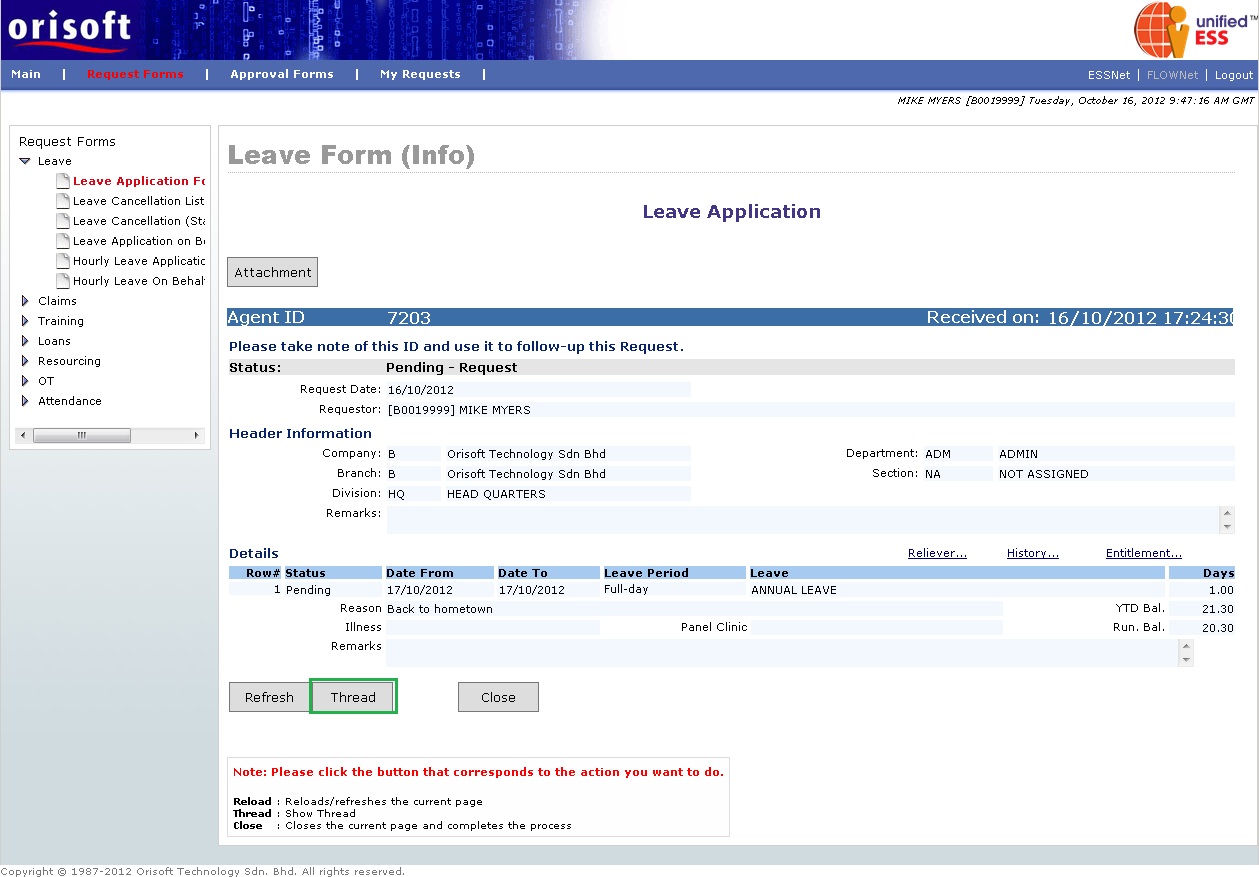
When you select the “Complete” option and click on the Submit button, the request will be directly sent to superior for action. An Info page of the leave request will be shown if the submission of application is successful (refer to figure below).

You can also click on the Thread button from the info page, which will direct you to another detail info page that shows the escalation and the status of the request (refer to figure below). The request which successfully submitted for approval will also available in My Request > My Pending Request(s) for your reference.
NOTE: The above features and functionality are available in most of the application request forms. For different type of request forms, those will be further explained accordingly.
Back To:
Employee_applying_change_requests
Employee_applying_application_request
See Also: